


Mastering the Visuals: A Beginner's Guide to CSS
Making it Beautiful with CSS
In our last post, we built the skeleton of a webpage using HTML. But let's be honest: a skeleton isn't very pretty. To give our site personality, layout, and color, we use CSS (Cascading Style Sheets).
What is CSS?
If HTML is the structure (walls and beams), CSS is the interior design (paint, furniture, and decorations). It tells the browser exactly how HTML elements should look on the screen.
The Syntax
CSS works by selecting an HTML element and applying a "declaration" to it.
selector {
  property: value;
}
This is the basic structure for a CSS rule. Now, let's look at the individual components:
-
Selector: The HTML element you want to style (e.g., h1, p, or button)
-
Property: The feature you want to change (e.g., color, font-size)
-
Value: The specific setting you want to apply (e.g., red, 20px)
Tutorial
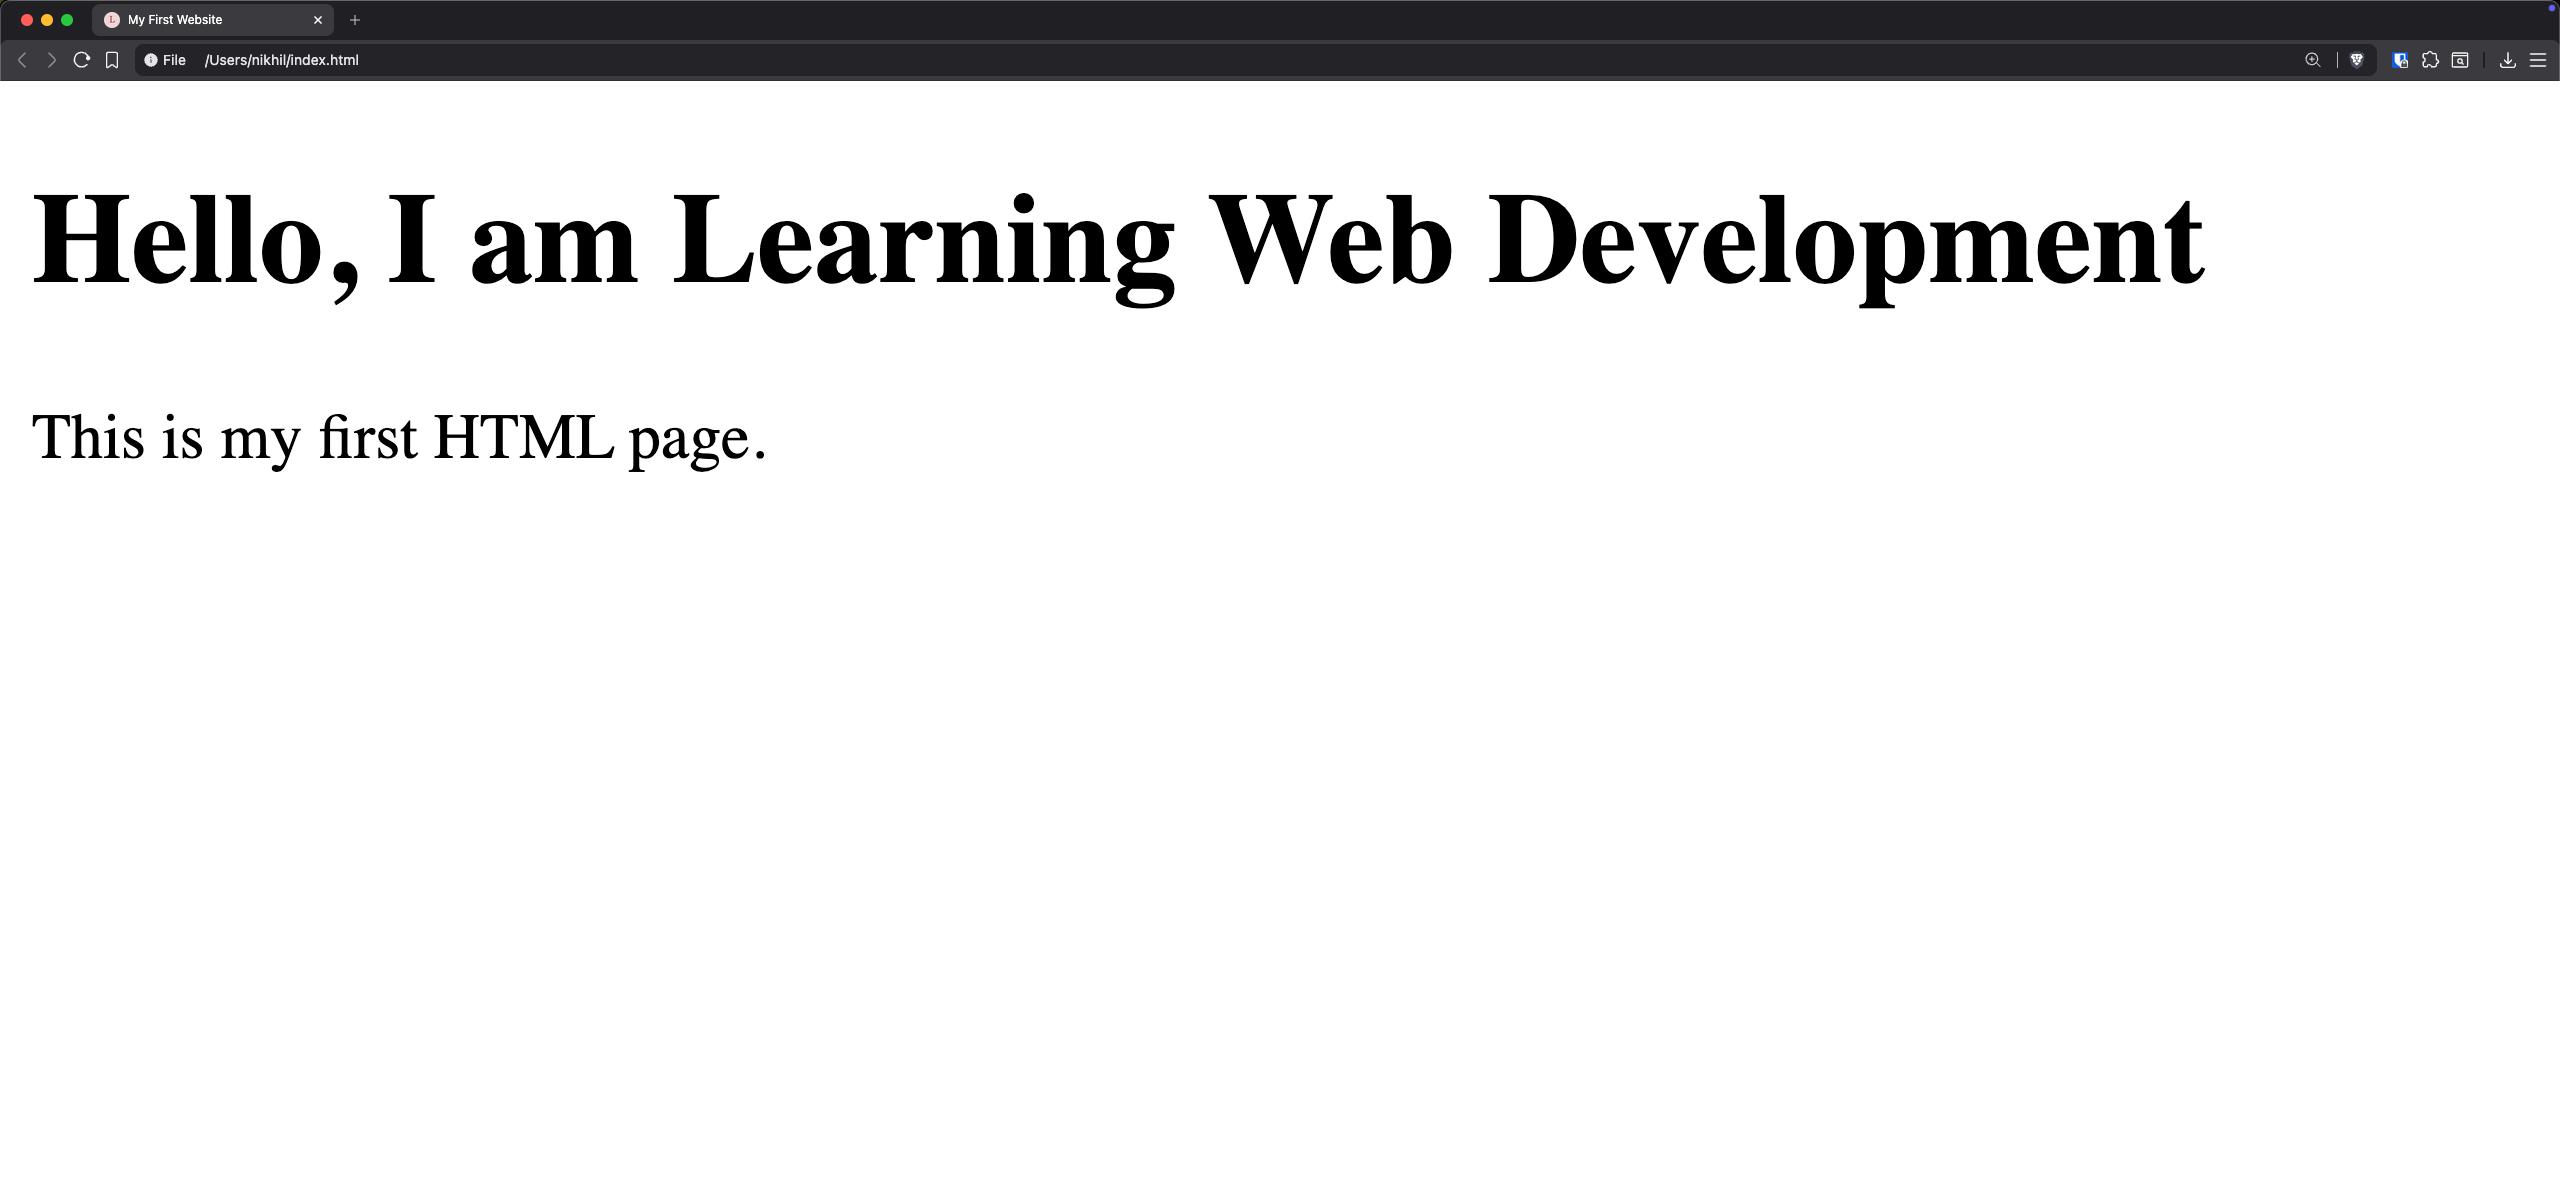
In the last post we created a simple HTML page (Your first web page). Now let's add some CSS to it. This output looks like:
Three Ways to Apply CSS
efore starting with how to write CSS, let's look at how we can apply it to our HTML. So, how do we actually tell the browser to apply CSS to our HTML? There are three main ways:
1. Inline CSS
You can add styles directly to an HTML tag using the style attribute. This is useful for quick testing, but usually not recommended for full websites because it gets messy quickly.
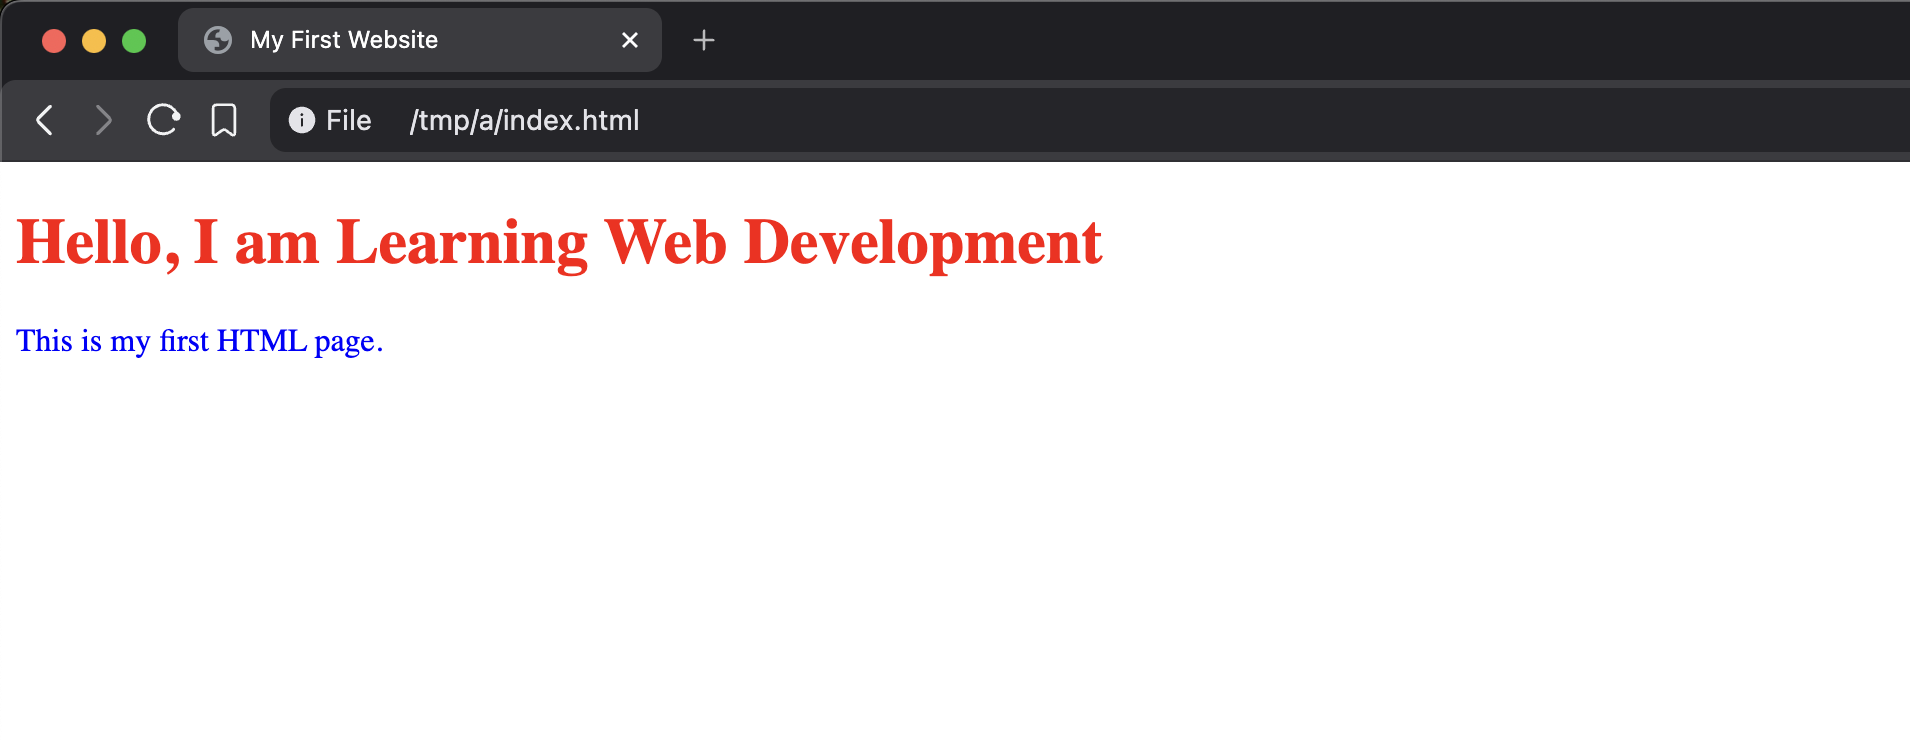
Let's change our <h1> text to red and our <p> text to blue using inline styles. We'll update our initial HTML to look like this:
<!DOCTYPE html>
<html>
<head>
  <title>My First Website</title>
</head>
<body>
  <h1 style="color: red;">Hello, I am Learning Web Development</h1>
  <p style="color: blue;">This is my first HTML page.</p>
</body>
</html>
This output looks like:
2. Internal CSS (The <style> Block)
Instead of putting styles right on the elements, we can gather them inside a <style> block located in the <head> section of our HTML document.
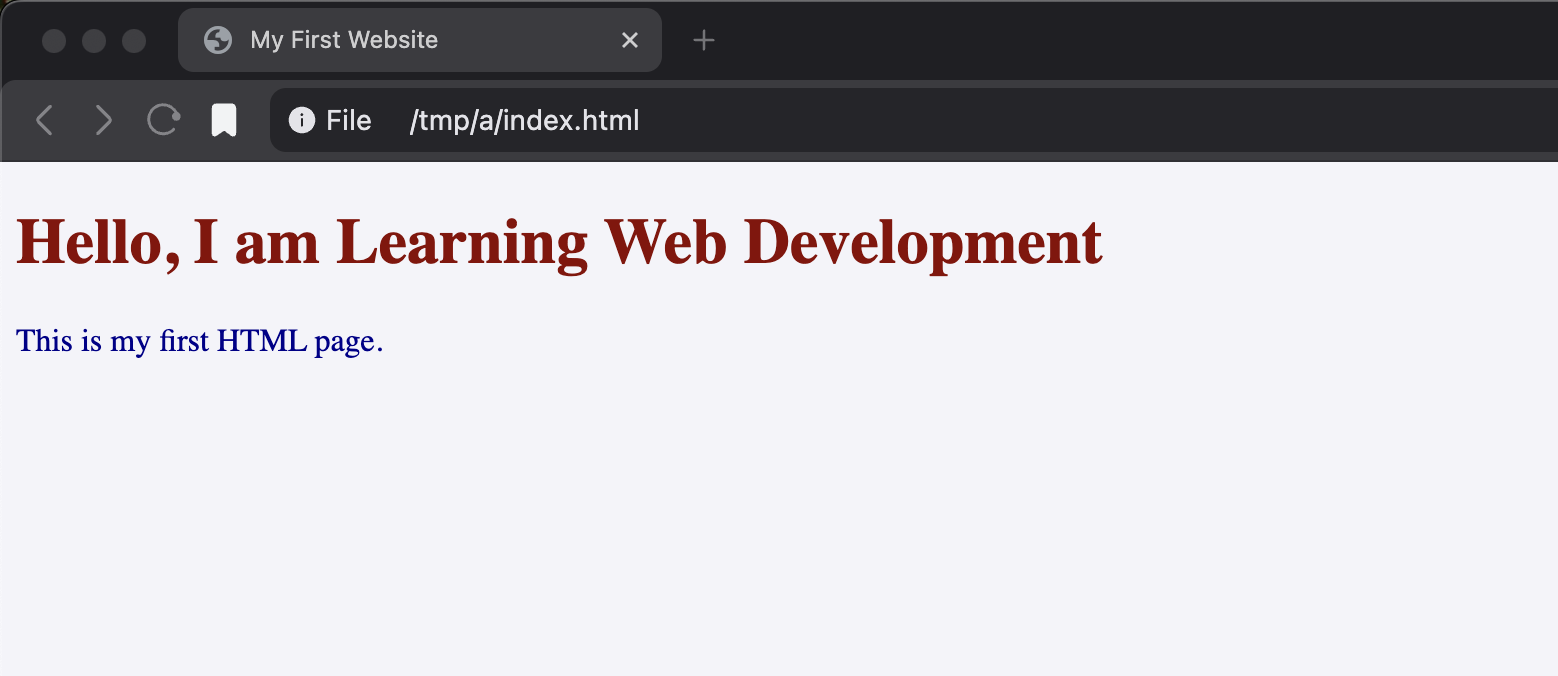
Let's add a background color to the page and change the font colors:
<!DOCTYPE html>
<html>
<head>
  <title>My First Website</title>
  <style>
    body {
      background-color: #f4f4f9;
    }
    h1 {
      color: darkred;
    }
    p {
      color: darkblue;
    }
  </style>
</head>
<body>
  <h1>Hello, I am Learning Web Development</h1>
  <p>This is my first HTML page.</p>
</body>
</html>
This output looks like:
3. External CSS
This is the most common and professional way to apply CSS. You create a separate file (e.g., style.css) and link it to your HTML file. This keeps your HTML clean and lets you style multiple pages from a single CSS file!
To make things more exciting for our final example, let's create a simple webpage where we add a clickable link styled as a button leading back to the ArtUs Academy homepage!
First, your HTML file (index.html):
<!DOCTYPE html>
<html>
<head>
  <title>My First Website</title>
  <link rel="stylesheet" href="style.css">
</head>
<body>
  <h1>Hello, I am Learning Web Development</h1>
  <p>This is my first HTML page.</p>
  <a href="/" class="button">Visit ArtUs Academy</a>
</body>
</html>
Then, you create a new file named style.css in the same directory. Let's add some styles for our new button (don't worry about all the properties in this file, we will learn all these later):
body {
  background-color: #282c34;
  color: white;
  font-family: Arial, sans-serif;
  text-align: center;
  padding-top: 50px;
}

h1 {
  color: #61dafb;  /* This is a hex-code for color. */
}

p {
  color: #abb2bf;
  font-size: 18px;
  margin-bottom: 30px;
}

.button {
  background-color: #61dafb;
  color: #282c34;
  text-decoration: none;
  padding: 10px 20px;
  border-radius: 5px;
  font-weight: bold;
}

/* This is applied when the mouse pointer is over the button */
.button:hover {
  background-color: white;
}
Understanding the CSS Code
To really master CSS, it's essential to understand the different pieces of the code we just wrote.
1. Selectors
A CSS selector tells the browser which HTML elements you want to style. Here are the three most common types of selectors you will use:
-
Element Selectors: Target an HTML element directly by its tag name. In our external CSS file earlier, we used Element Selectors (
body,h1, andp). These apply styles to every tag of that type on the page.html<!-- HTML --> <p>This is a paragraph.</p>css/* CSS */ p { color: green; } -
Class Selectors: Written with a dot (
.), these target elements holding a specific class attribute. You can reuse the same class on multiple different elements.html<!-- HTML --> <p class="highlight">This paragraph is highlighted.</p> <h2 class="highlight">This heading is also highlighted.</h2>css/* CSS */ .highlight { background-color: yellow; }Moreover an element can also have multiple classes,
html<p class="highlight important">This paragraph is highlighted and important.</p>css/* CSS */ .highlight { background-color: yellow; } .important { font-weight: bold; } -
ID Selectors: Written with a hash (
#), these target a single unique element with a specific ID attribute. An ID must be completely unique and only used once on the page.html<!-- HTML --> <h1 id="main-header">Welcome to my Application!</h1>css/* CSS */ #main-header { font-size: 32px; color: red; }
2. Properties and Values
Inside the curly braces {} are declarations made up of properties (the features you want to change) and values (the specific setting you are applying).
- Pseudo-classes (Bonus!): In our final code, we used
.button:hover. The:hoverpseudo-class tells the browser to apply that specific style only when the user hovers their mouse over the element.
Let's break down the new properties and values we used in the style.css file:
background-color: Sets the background color. We gave our body a dark grayish-blue (#282c34) and our button that bright light-blue (#61dafb).color: Changes the text color.font-family: Sets the font typeface.Arial, sans-serifacts as a fallback for standard fonts.text-align: Controls horizontal alignment.centerpositioned everything in the middle.paddingandmargin: Used to create space!paddingadds space inside an element (making our button bigger and pushing content down from the top of the body), whilemarginadds space outside (separating our paragraph from the link).font-sizeandfont-weight: We made our<p>text18pxand ensured our button text wasboldso it pops.text-decoration: Setting this tononeremoved the default blue underline from our<a>link.border-radius: Rounded the sharp corners on our button.5pxworks nicely.
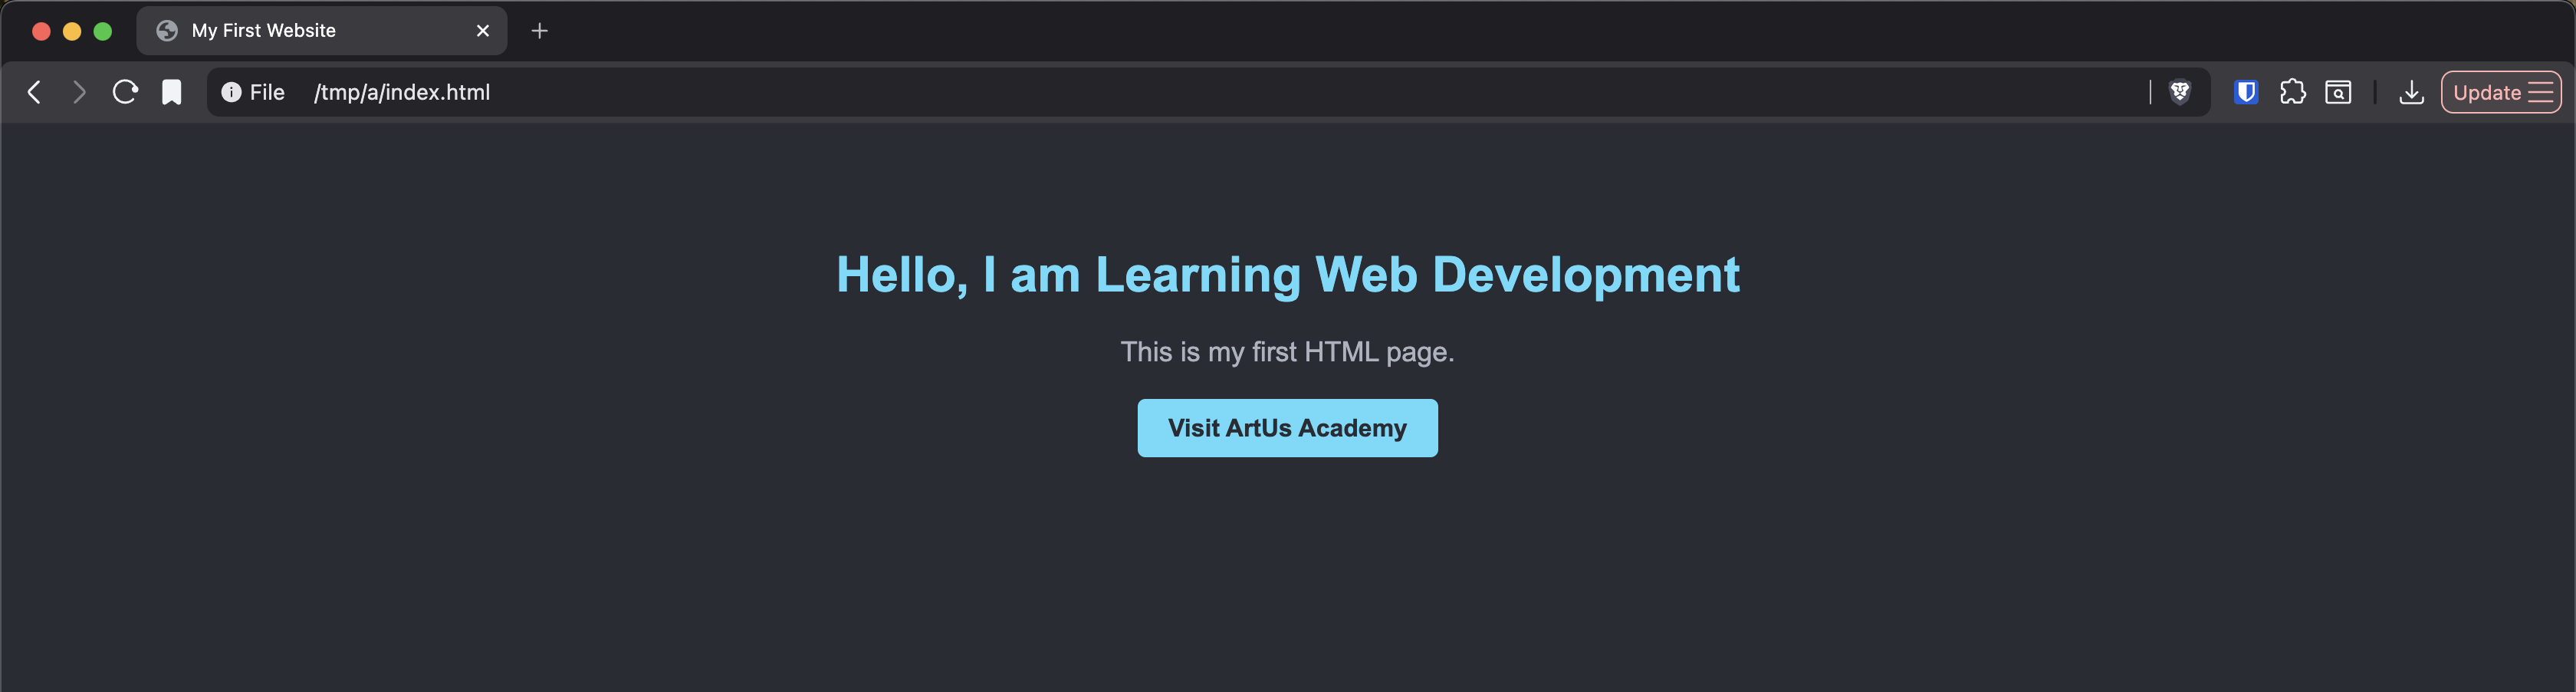
The Final Output
Let's see what our final webpage looks like with these beautiful styles applied. We've gone from a plain, boring white page to a dark-mode styled mini-project featuring a custom interactive button!
This is a simple page, be sure to tweak and play around with the final files experiment with the final output and post your results.
If you are interested in such blogs be sure to subscribe to our Whatsapp community where we will be posting more such blogs and also tips and tricks to become a better developer.